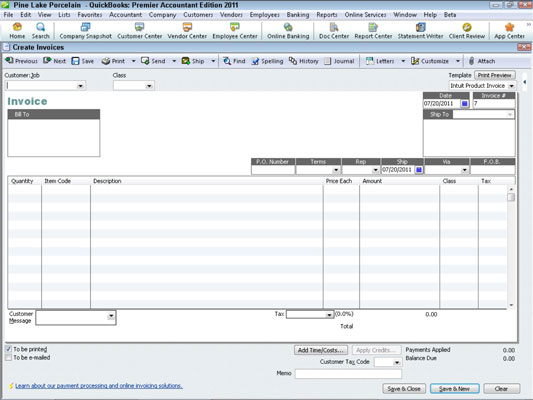
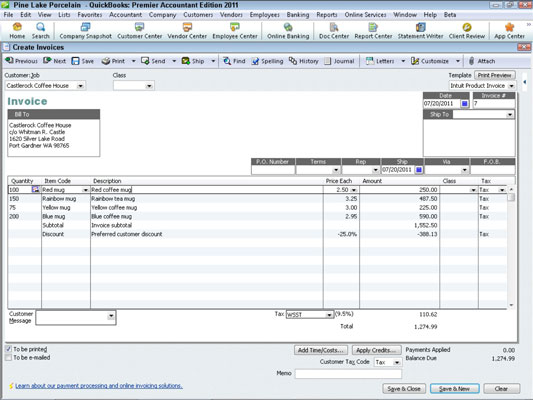
To invoice a customer in Quickbooks 2011, use the Create Invoices window to identify the customer and specify the amount they owe. To display the Create Invoices window, choose Customers→Create Invoices. You can use more than one type of invoice form. You can also choose to customize an invoice form so that it perfectly matches your business requirements.

After you display the Create Invoices window, take the following steps to invoice a customer:
Identify the customer and, if appropriate, the job.
Select the customer or customer and job combination from the Customer:Job drop-down list. You must identify the specific customer by selecting them from this list.
Confirm or provide new invoice header information.
After you identify the customer, QuickBooks fills out the Date, Invoice, Bill To, and, possibly, the Ship To fields. You probably don't need to change any of this information.
Provide or confirm the Invoice field information.
Invoices include field information that records items such as purchase order numbers, payment terms, ship date, and shipping method.
Describe the items sold.
How the columns area of your invoice looks really depends on whether you're selling products or services. The columns area for a service looks simpler because you don't provide much information when describing service items. In the columns area, you want to describe each item for which an invoice bills.

To enter additional items onto the invoice, enter additional rows. If you want to charge a customer for freight, one line of the invoice area describes that freight charge. If you want to bill a customer for sales tax, again, one line or row of the columns area shows that sales tax charge.
Use the Customer Message box at the bottom of the Create Invoices window to supply a customer message that appears at the bottom of the invoice.
If you've created a custom invoice form template that includes other footer information, these footer boxes also appear at the bottom of the Create Invoices window. You can use them to collect and transfer additional footer information.
(Optional) Check your spelling.
If you click the Spelling button, which appears along the top edge of the Create Invoices window, QuickBooks checks the spelling of the words that you've used on the invoice.
Click either the Save & Close button (if you're done) or the Save & New button (if you need to create another invoice) to save your invoice.
Click the Ship button to display the QuickBooks Shipping Manager window, which lets you automate some of the steps in shipping packages using Federal Express or UPS.
dummies
Source:http://www.dummies.com/how-to/content/how-to-invoice-a-customer-with-quickbooks-2011.html
No comments:
Post a Comment