To control how an image and text interact in Word 2010, click the image to select it. When the image is selected, Word displays a Format tab, from which you can choose the Text Wrapping menu, found in the Arrange group:
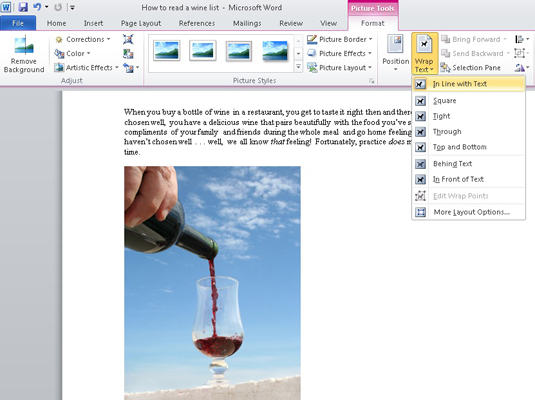
In Line with Text: The image is treated like text — specifically, like a large, single character. The image can have text before it or behind it, be in the middle of a paragraph of text, or be on a line by itself. The image stays with the text while you edit, and the line that the image is on grows extra vertical space to accommodate the image.

Square: The image sits on the same plane as the text, but the text flows around the image in a square pattern, regardless of the image's shape.
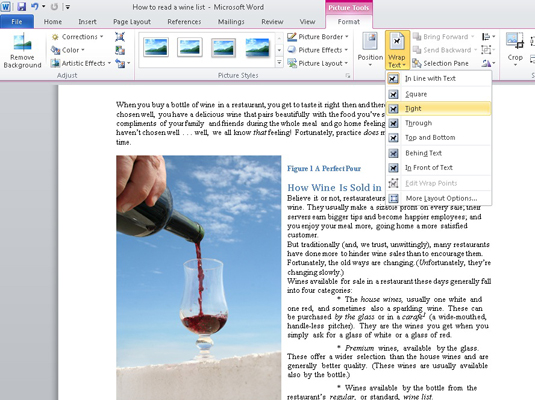
Tight: Text flows around the image and hugs its shape.
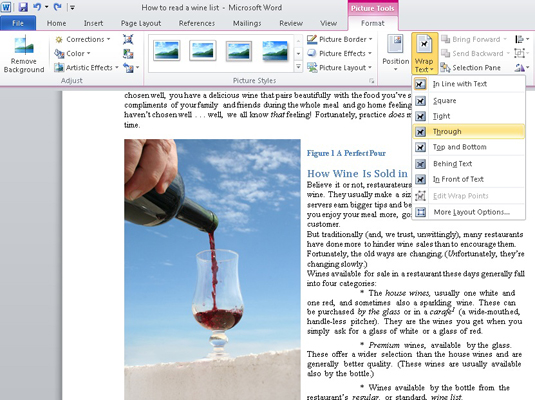
Through: Text flows around the image as best it can, similar to the Tight option.
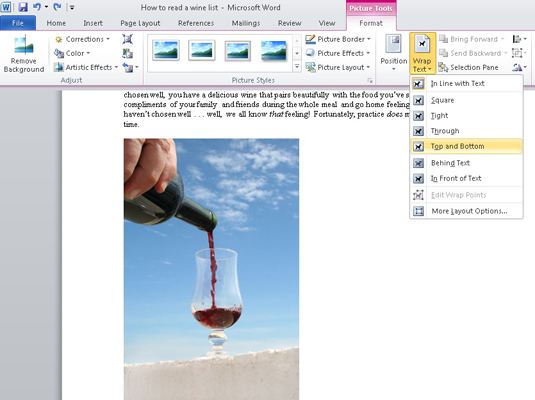
Top and Bottom: Text stops at the top of the image and continues below the image.
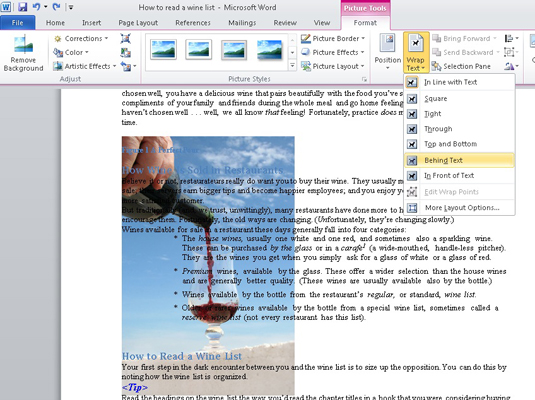
Behind Text: The image floats behind the text, looking almost like the image is part of the paper.
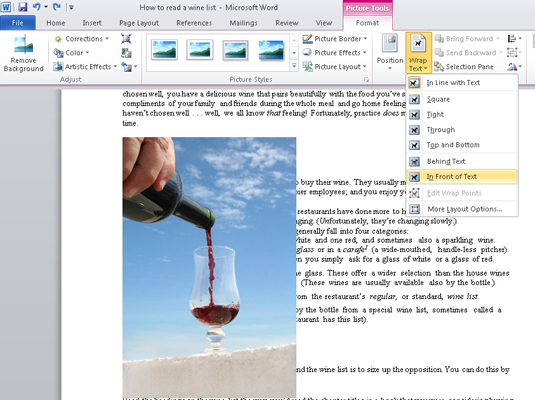
In Front of Text: The image floats on top of your text, like a photograph dropped on the paper.
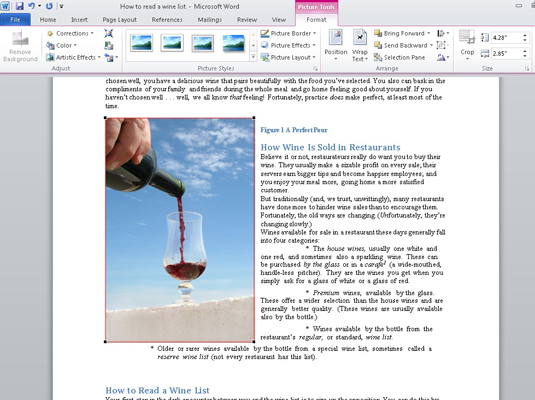
Edit Wrap Points: You can specifically control how text wraps around an image. By adjusting tiny handles and dashed red lines, you can make text wrapping as tight or creative as you like. Of course, selecting the Tight option does pretty much the same thing.
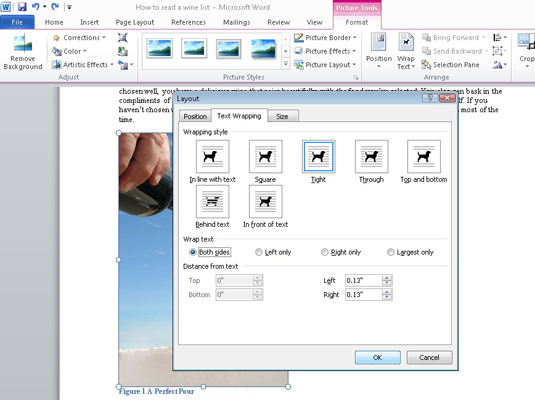
Selecting More Layout Options summons the Advanced Layout dialog box, which provides custom controls for image position, as well as wrapping options.
dummies
Source:http://www.dummies.com/how-to/content/how-to-wrap-text-around-a-graphic-in-word-2010.html
No comments:
Post a Comment